





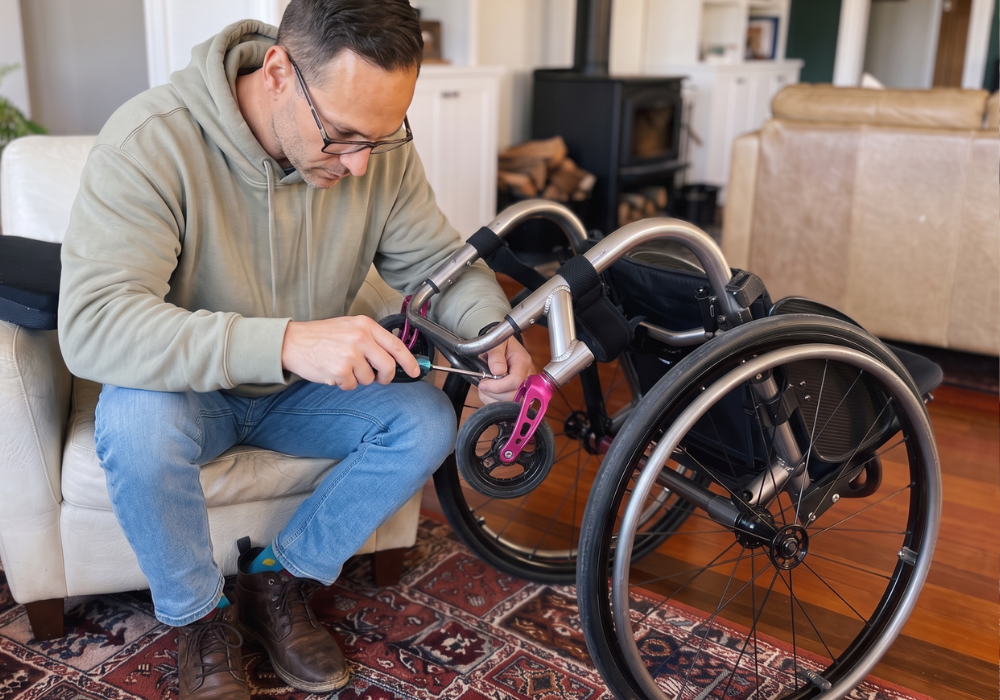
There's one task in wheelchair life that is so important to the upkeep of your chair, but it's rather gross.
It’s a tiny area that's quite easy to miss. It's your castors, and they're full of hair. Cleaning them takes a bit of effort, but it's so worth it. Let's go through how I do it.
Quick answer: flip the chair so the castors are accessible, use an Allen key to remove the screw holding each castor in place, pull the axle out, clear the hair from the wheel and the spacers on both sides, then reassemble in reverse. It takes about five minutes per wheel once you've done it once.
Why wheelchair castors get stuck in the first place.
It's not really about the hair blocking movement. It's about what the hair does once it's in there.
Hair is absorbent. Every time you roll through a wet bathroom floor, a rained-on footpath, or even just morning condensation on the kitchen tiles, that hair packed around your castor axle soaks it up like a wick. Trapped moisture sitting against metal bearings for weeks does what trapped moisture always does. It corrodes them. By the time your castor feels gritty or refuses to spin freely, the hair isn't just an inconvenience; it's been quietly working on your bearings the whole time.
Clean it out early, and you're removing a nuisance. Leave it long enough, and you're replacing a bearing.
Signs it's time to clean your castors.
- The chair pulls to one side when you push in a straight line
- A squeak or click that repeats with every rotation
- Visible hair or fibre wound around the wheel
- The castor feels noticeably harder to spin than the others when you test it by hand
If you've got any one of these, don't wait for the monthly reminder. Deal with it now.
What you'll need.
- Allen key set (check your manual; most chairs use 4mm or 5mm, some use imperial sizes)
- Tweezers or fine-point scissors
- A soft cloth
- Somewhere to put small screws that isn't the floor
How to clean wheelchair castors, step by step.
1. Transfer out and flip the chair.
Get out of the chair first. Then turn it upside down with the castor you're working on easy to reach. Doing this with someone still sitting in it is how people drop tools and lose screws under the fridge.
2. Loosen and remove the screw.
Use the Allen key to take out the screw holding the castor to the fork. Put it somewhere you won't lose it. A parts tray is ideal, a cup works fine.
What goes wrong: using a slightly undersized Allen key and rounding out the screw head. If the key feels loose in the socket, it's the wrong size. Stop and find the right one, because a rounded screw turns a five minute job into a supplier visit.
3. Pull the axle and release the wheel.
Slide the axle out and the castor wheel comes free from the fork.
4. Clear the hair from everywhere.
Not just the wheel. Check the spacers on both sides too. Hair wraps around those exactly as easily, and if you skip them you'll be back here in a fortnight wondering why it still catches. Tweezers earn their keep here.
For hair wound in tight, fine-point scissors cut it loose so you can pull the rest free. If a castor is genuinely seized, a small amount of hair-removal cream worked into the section will soften it enough to get things apart. Most castors never need that, but it's saved me twice.
While the wheel is off, wipe the fork and look at the bearing seats. Grit sitting in there is the thing you're actually trying to stop.
5. Reassemble, one spacer at a time.
Slide one spacer back into place, then thread the axle through the wheel. Watch the internal spacer as you go, because it has to line up or the axle won't seat. The last spacer is usually the tight one, and you'll often need to nudge the fork apart slightly to get it in.
What goes wrong: that tight fit feels like you've assembled it in the wrong order. Nine times out of ten you haven't. It's normal.
6. Screw it back together and test.
Replace the screw and tighten it snug, not cranked. Over-tightening the axle nut squeezes the bearing and gives you a wheel that drags for a completely new reason.
Spin it by hand before you go anywhere. It should turn freely with no catch, no grind, no wobble.
7. Do the other one.
Both castors see the same hair and the same wet floors. If one was due, the other is.
How often should you clean wheelchair castors?
Monthly is the sensible default, and it's what the wheelchair maintenance routine I use is built around.
Your environment matters more than the calendar, though. Pets shedding through the house? Long hair in the family? A lot of wet weather? Move to fortnightly. Or skip the schedule entirely and just run the flick test once a week, and let the wheels tell you when they're ready.
Still not spinning freely? When it's not a cleaning problem.
Cleaned it, lubricated it, reassembled it properly, and it's still gritty or slow? That's not hair anymore. That's a bearing. Bearings wear out from years of exactly the moisture exposure described above, and no amount of cleaning brings a worn bearing back. At that point you're better off contacting your supplier about a castor replacement than fighting the same wheel every month.
Castor cleaning questions.
Can I clean wheelchair castors without taking them off?
You can pick at the visible hair with tweezers, and it's better than nothing between proper cleans. It won't reach the spacers or the bearing faces, which is where the moisture-holding stuff sits, so it's a stopgap rather than the job.
Why does my wheelchair pull to one side?
Check tire pressure first, because uneven pressure is the most common cause and the fastest fix. Pumping up your wheelchair tires takes two minutes. If both tires are correct, a dragging castor is the next suspect, and after that it's alignment.
How long do wheelchair castor bearings last?
Years, if you keep moisture and grit out of them. Months, if hair sits packed against them through a wet winter. Which is the entire reason this article exists.
Add it to the routine.
This is one of those small jobs that feels fiddly the first time and takes five minutes once you've done it twice. Put it alongside checking your tire pressure and cleaning your frame, and your chair stays easier to push for longer.
I am a T10 complete paraplegic and acknowledge that not everyone has the function I do. Do your best with what you've got and continually look to improve your skills.
Happy Adaptdefying. – Mike


Leave a comment
All comments are moderated before being published.
This site is protected by hCaptcha and the hCaptcha Privacy Policy and Terms of Service apply.