


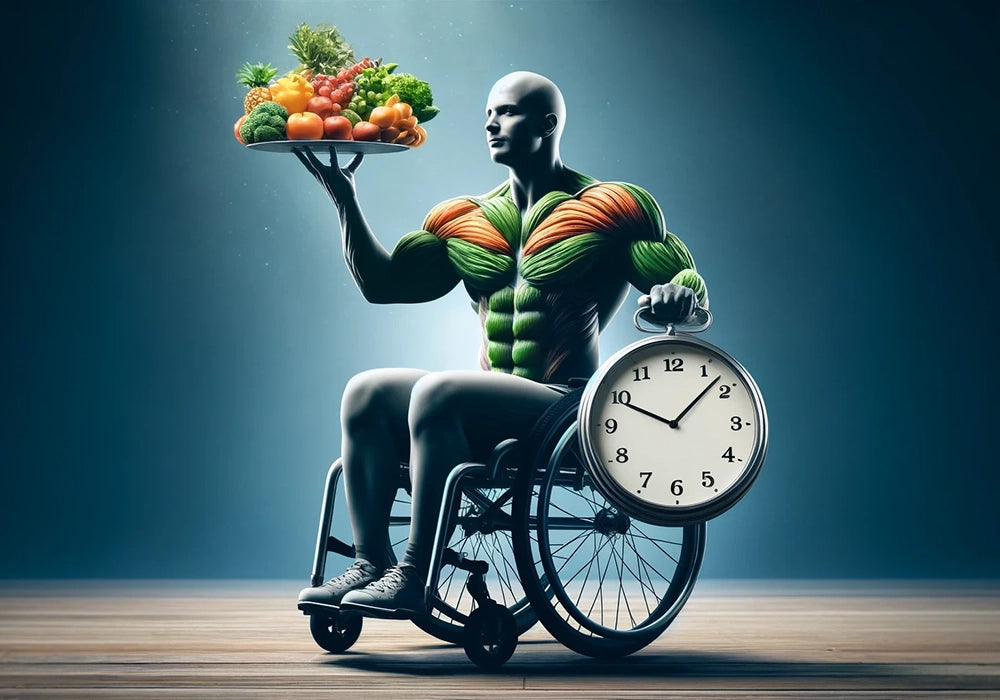
Unleashing the power of intermittent fasting - 7 benefits for wheelchair users.
In my quest for optimal health to offset the disadvantages of being a paraplegic and wheelchair user I came across intermittent fasting (IF) as a way to manage my weight, improve my overall energy ...
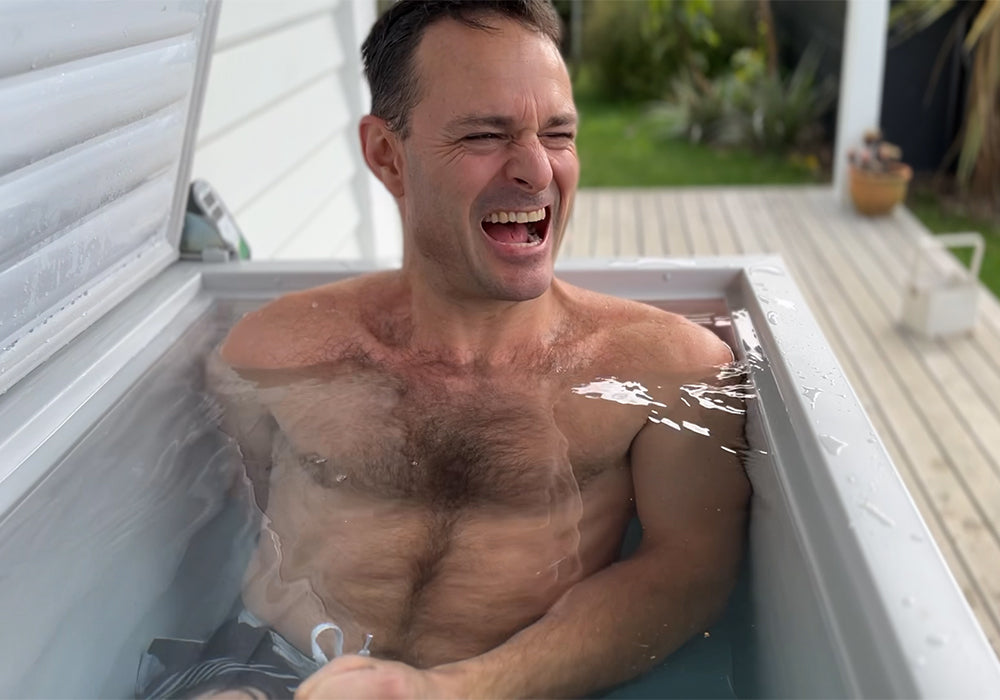
Cold plunging for spinal cord injury recovery and resilience.
Why Cold Plunge? Wheelchair users are used to discomfort, so why invite more into our lives?The answer lies in the power of voluntary hardship to fortify our mental and emotional resilience, prepar...
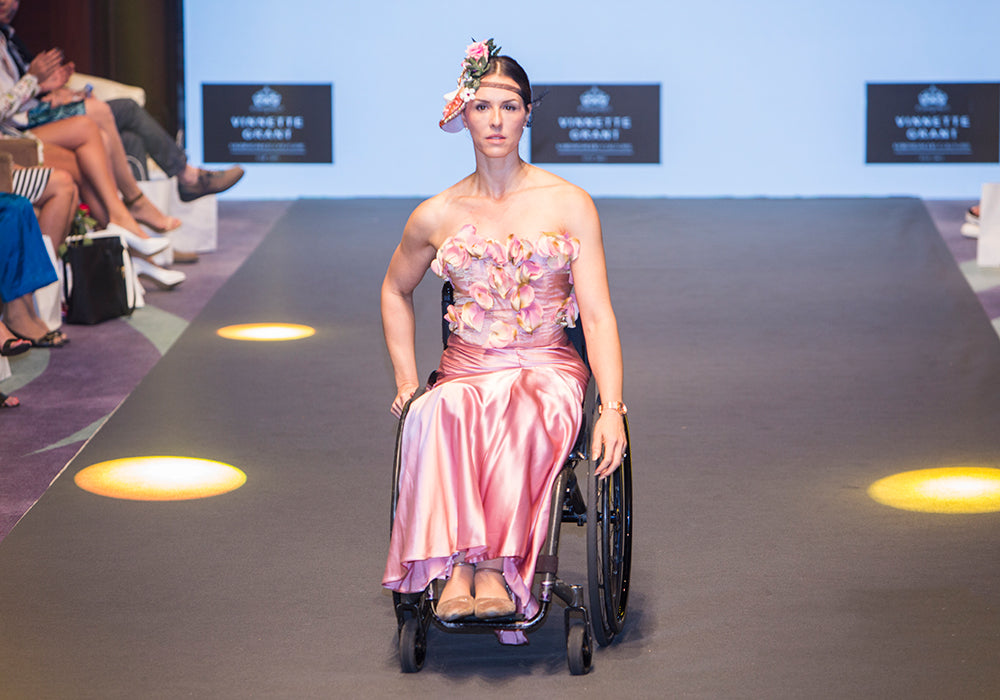
Samanta Bullock - wheelchair fashion model.
Samanta is a wheelchair tennis champion, an inclusive fashion model, sought after speaker, and a health and wellbeing expert who is changing the way the world views inclusivity and wheelchair fashion.
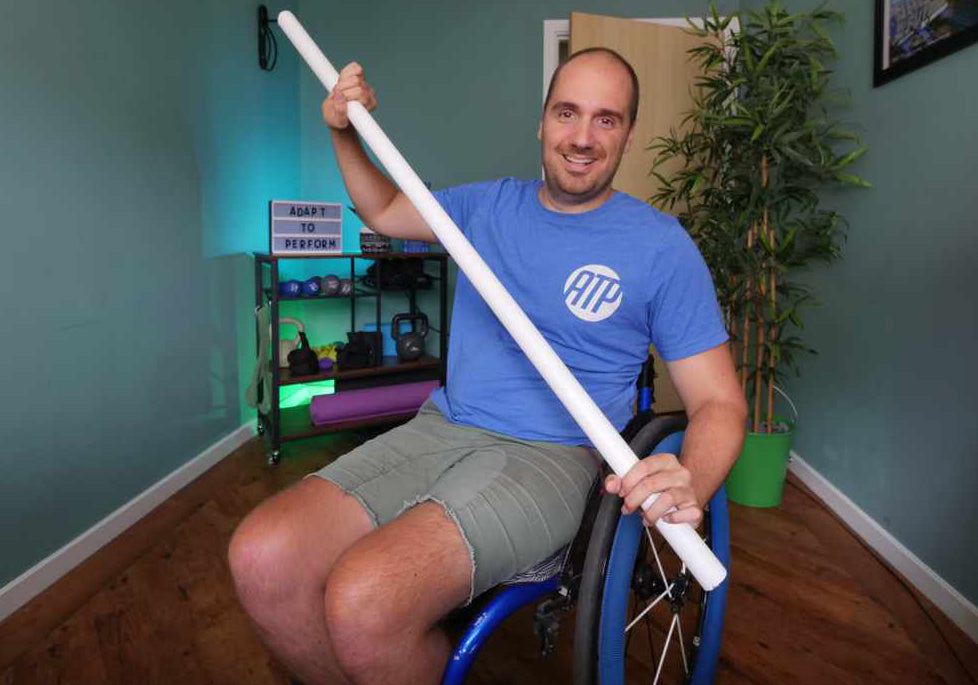
Ben Clark - adaptive fitness expert.
Ben Clark, dove into the sea “Baywatch style” and discovered it was shallower than he expected. The impact broke his neck, resulting in paralysis from the chest down. Drawing on 10 years of experie...
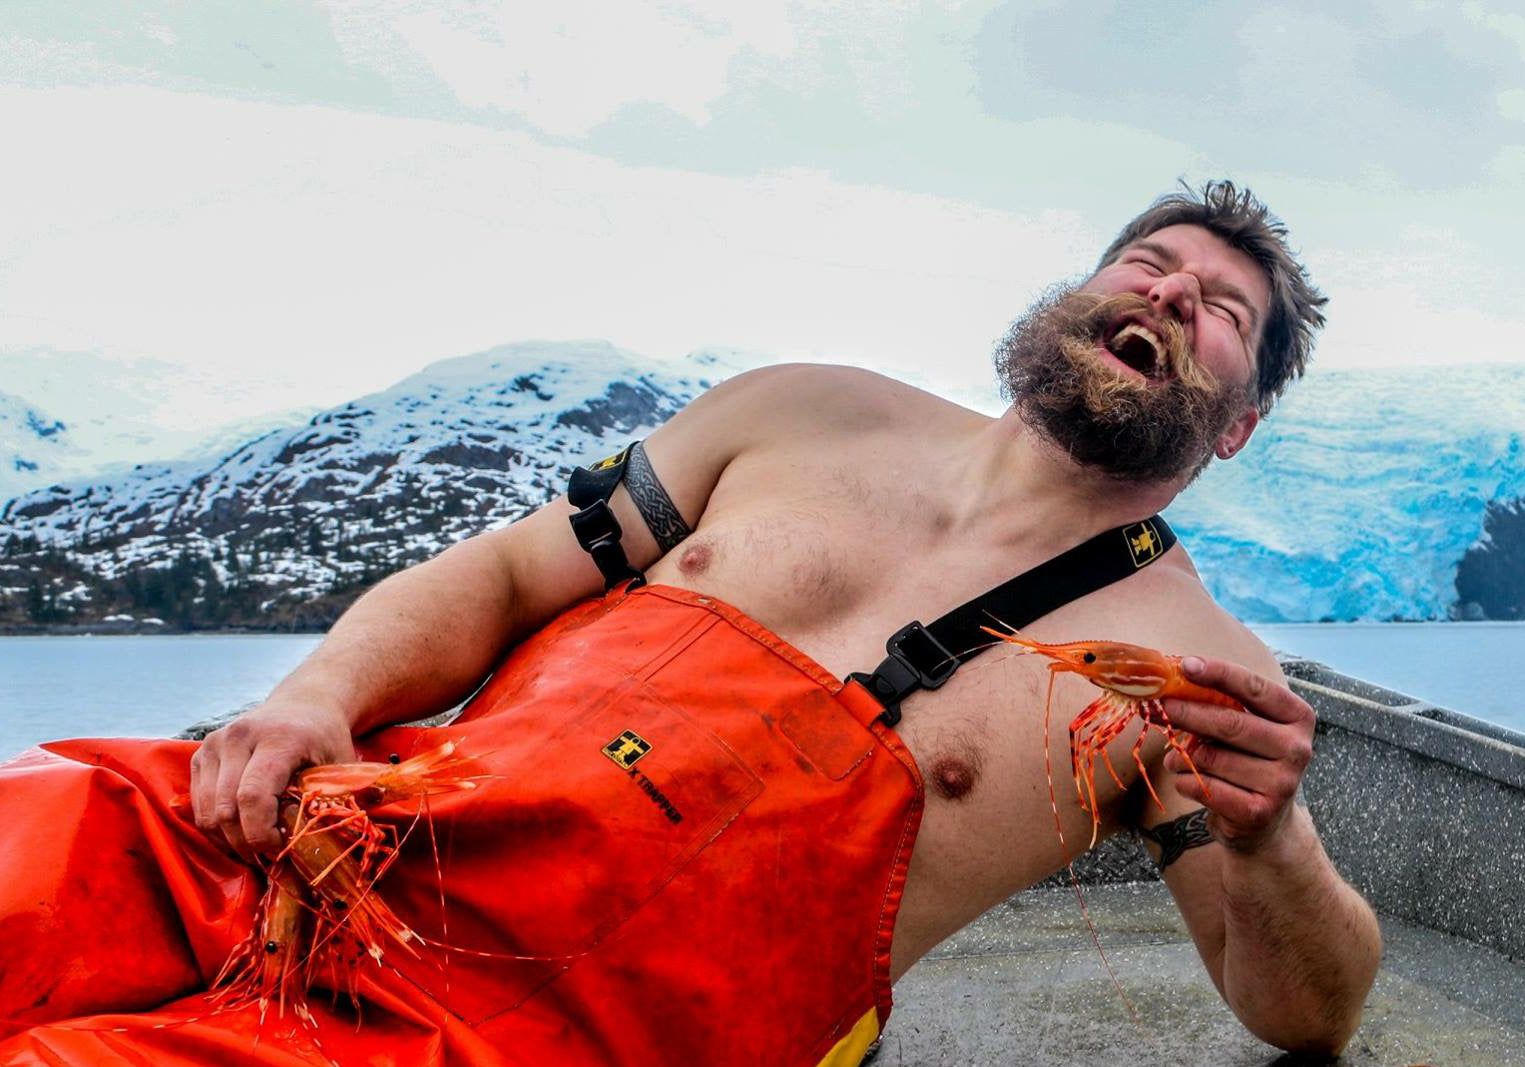
Ira Edwards - wheelchair hunting and fishing wild man.
Alaskan born Ira Edwards has found creative ways to harvest the bounty from the land and sea despite having paraplegia and using a manual wheelchair. He’s also an adaptive skier, and created a bus...
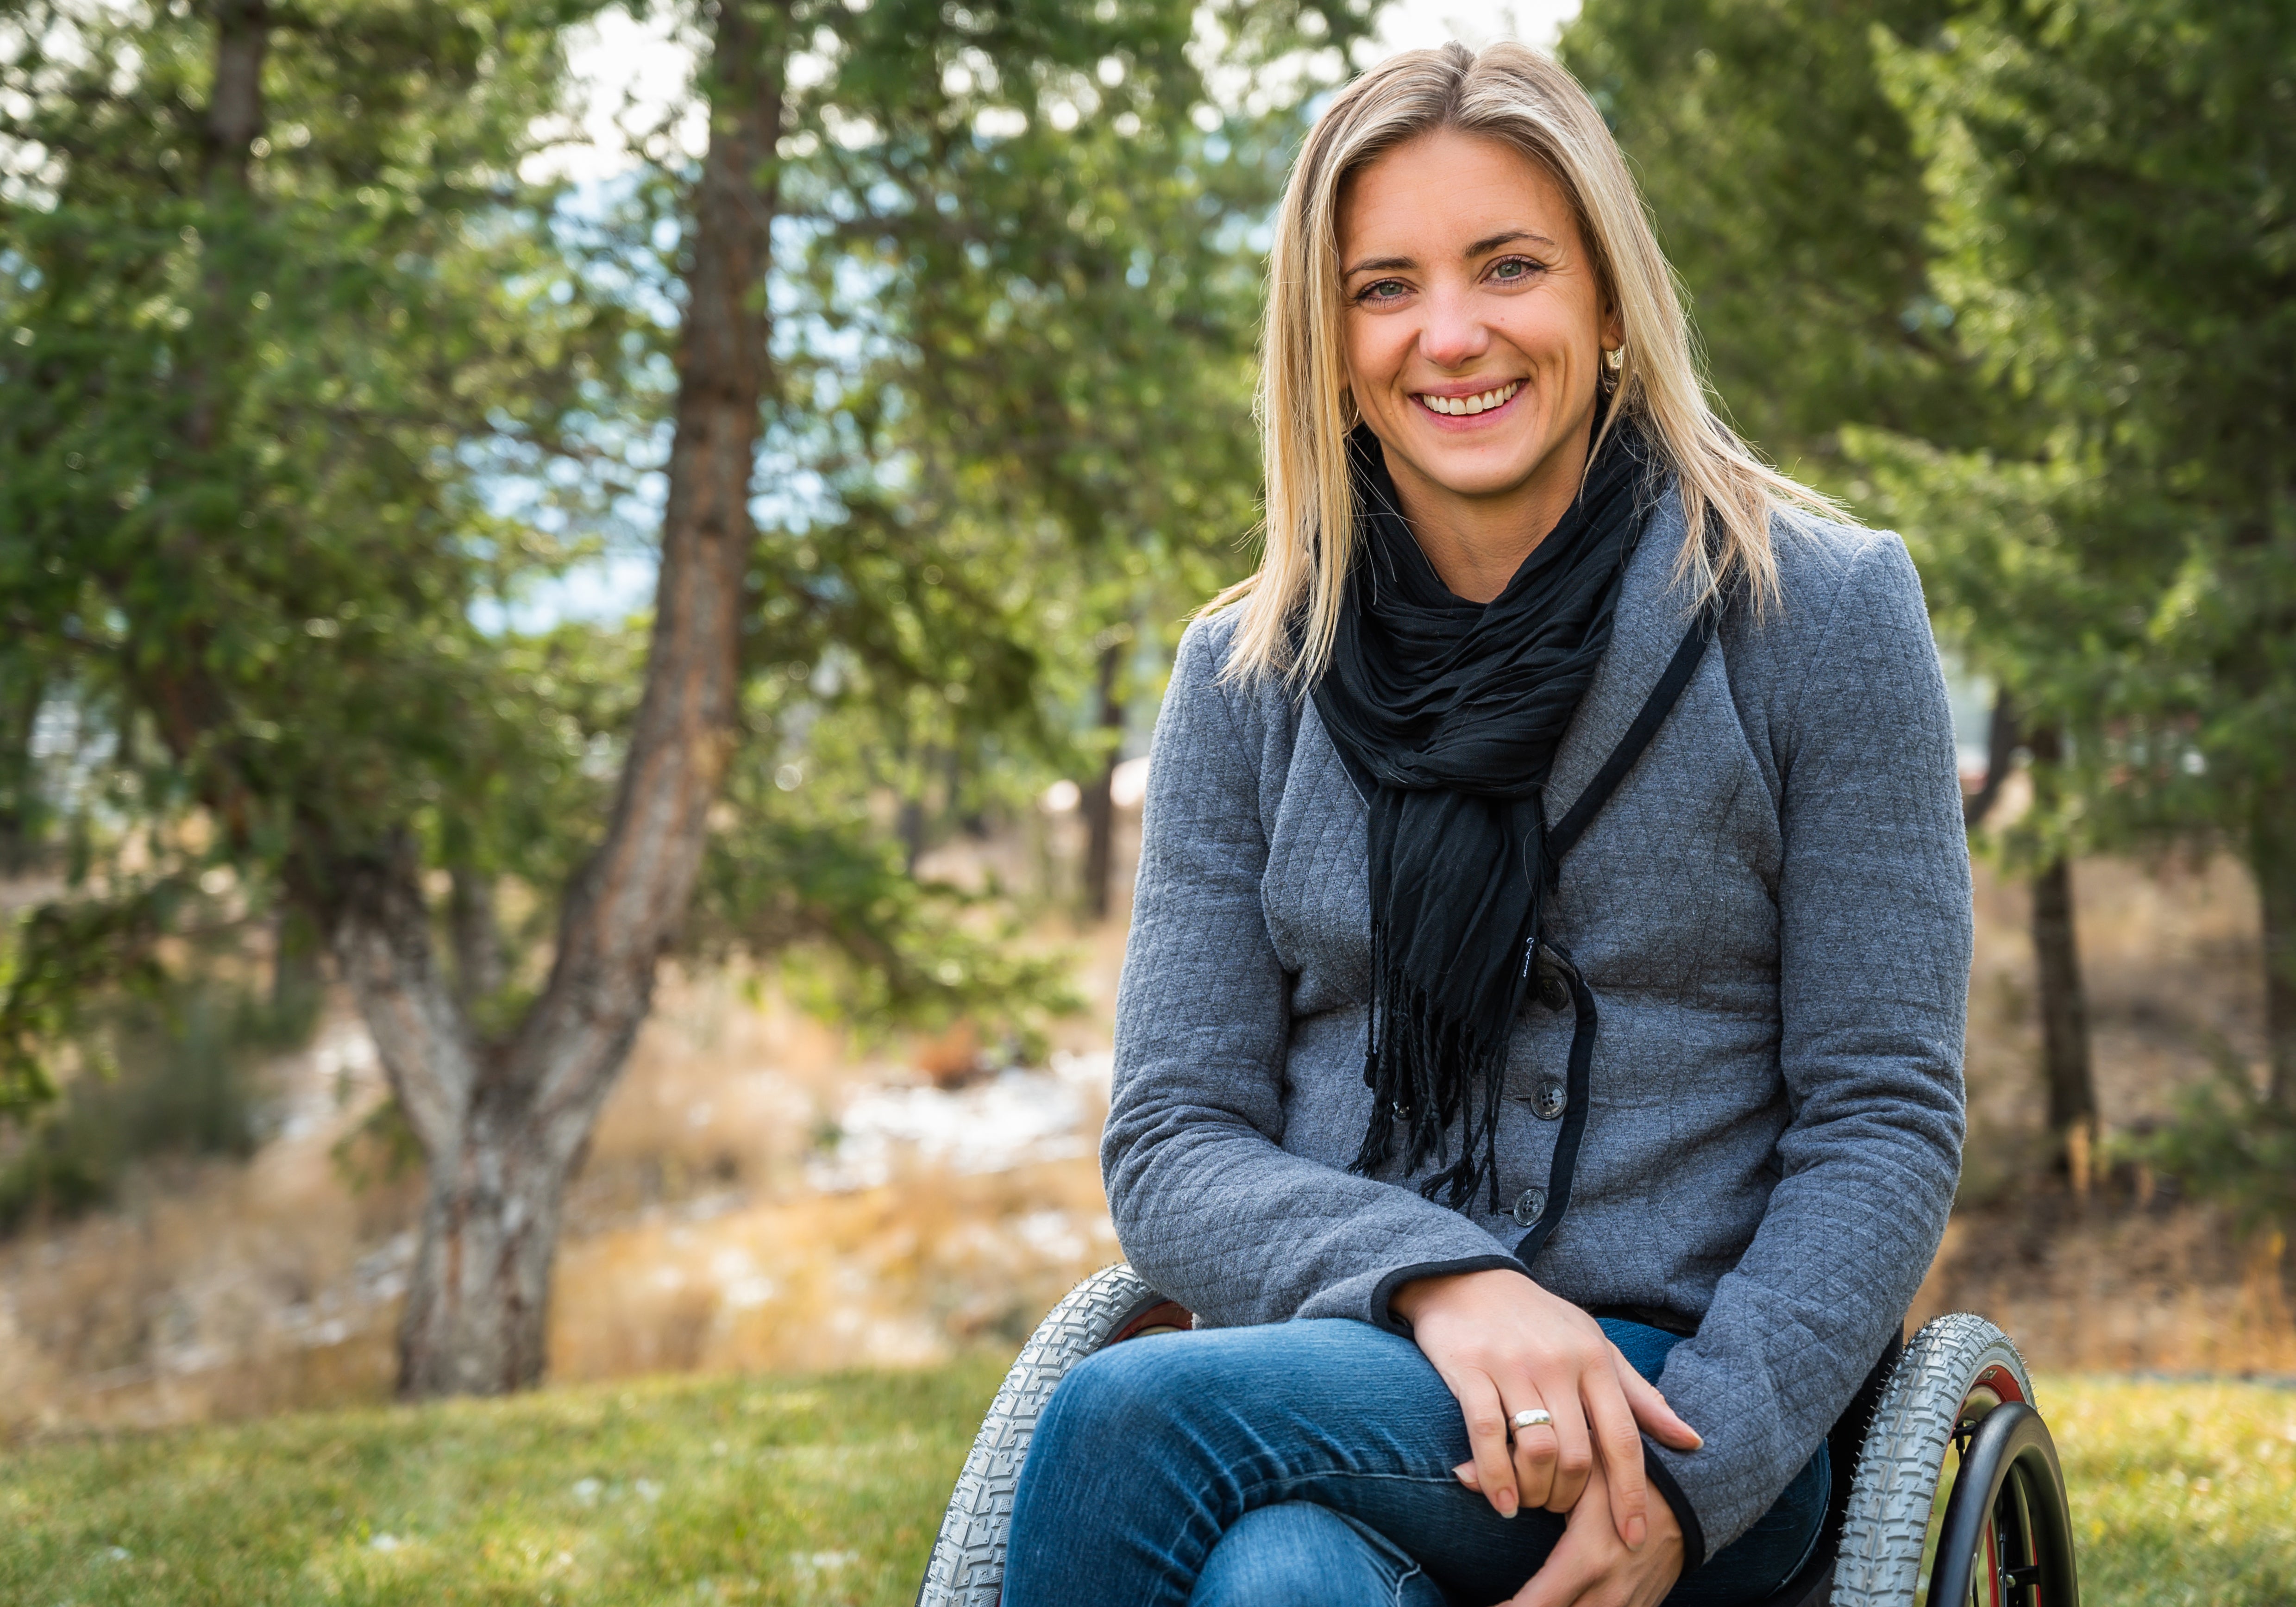
Tanelle Bolt - paraplegic access and design consultant.
Tanelle Bolt, who is paralyzed from the waist down (T6 paraplegia), hasn’t let the cost of adaptive equipment stop her from being rad again. She is the founder of the RAD society which she started ...
Let's get to know each other.
Join us on social.